
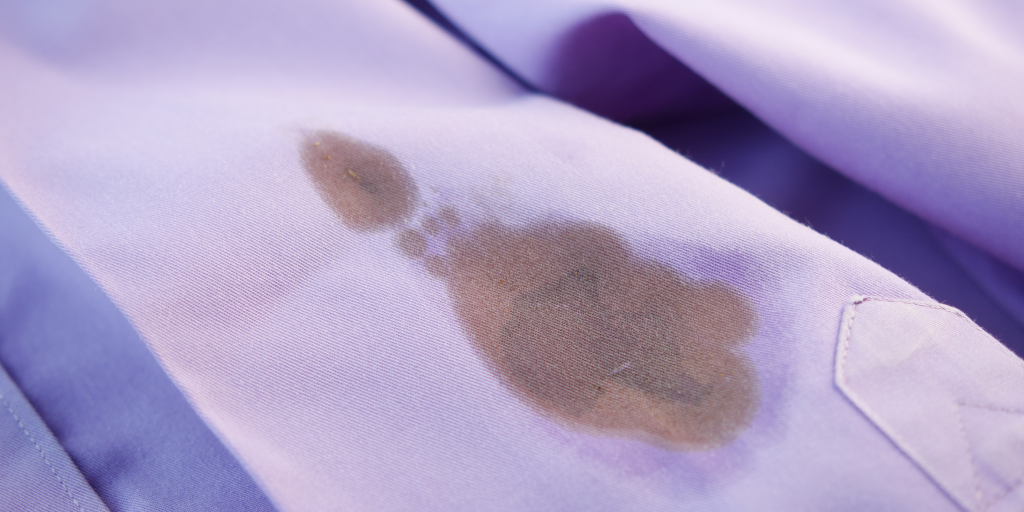
Stains happen to everyone, and let’s be honest—sometimes at the most inconvenient moments. Whether it’s spilling coffee on your crisp white shirt during your morning commute, dropping ink on your favorite blouse, or dealing with a stubborn wine mark at a dinner party, stains can feel like a disaster. But here’s the good news: most stains are not permanent, and with the right approach, you can remove them without damaging your clothes.
Many people panic when they see a stain, scrubbing vigorously or tossing the garment into hot water, which often makes the problem worse. The key to effective stain removal is understanding what caused the stain, the type of fabric affected, and the safest method to treat it. This guide will walk you through every step, from identifying the stain to applying the correct treatment, so you can save your clothes and keep them looking new.
By the end of this article, you’ll have a reliable system for dealing with any stain—quickly, safely, and effectively.
Step 1: Act Quickly—Blot, Don’t Rub
The first and most important step in stain removal is acting quickly. The longer a stain sits, the more it penetrates the fibers of your fabric, making it more difficult—or even impossible—to remove.
Why Blotting Matters
Many people instinctively rub a stain, but rubbing actually spreads it and forces it deeper into the fabric. Instead, use a clean cloth or paper towel to gently blot the affected area. Press down to lift the liquid rather than dragging it across the material.
Practical Tips for Different Stains
-
Liquid spills (coffee, soda, wine): Blot the liquid immediately. Sprinkle a little cold water on the spot to dilute the stain if it has started to set.
-
Grease stains: Avoid water at first; blot excess oil with a paper towel or cloth before treatment.
-
Powder stains (makeup, chalk, dirt): Shake off excess powder gently before applying any liquid solution.
Quick action often prevents the need for harsher chemical treatments, which can damage delicate fabrics.
Step 2: Identify the Stain Type
Before applying any stain remover, it’s crucial to identify the type of stain. Different stains respond to different treatments. Broadly, stains fall into four categories:
-
Protein-based stains: Examples include blood, sweat, egg, and dairy products. These stains are best treated with cold water because heat can set them permanently.
-
Oil and grease stains: Cooking oils, butter, and makeup fall into this category. Oil requires a degreasing agent like dish soap, not just detergent.
-
Dye-based stains: Coffee, tea, wine, and ink are classic examples. These often need a combination of blotting and specialized stain removers to lift the pigment.
-
Combination stains: Some stains, like chocolate or salad dressing, contain both oil and protein. These require a two-step approach: remove the oil first, then treat the protein.
Understanding what you’re dealing with ensures that your treatment doesn’t make the stain worse or damage the fabric.
Step 3: Pre-Treat Wisely
Pre-treating stains before washing can dramatically increase the likelihood of complete removal. Here’s how to handle common stains safely:
Protein Stains (Blood, Sweat, Egg)
-
Method: Soak in cold water for 30 minutes.
-
For stubborn stains: Apply a mixture of hydrogen peroxide and a few drops of dish soap. Gently blot with a cloth.
-
Tip: Never use hot water; it sets protein stains permanently.
Oil and Grease Stains
-
Method: Sprinkle baking soda or cornstarch to absorb excess oil.
-
Follow-up: Apply a small amount of dish soap and let it sit for 10-15 minutes before washing.
-
Tip: Avoid rubbing too hard on delicate fabrics, as it can damage fibers.
Dye Stains (Wine, Coffee, Ink)
-
Method: Blot with cold water first. Then, apply white vinegar or a commercial color-safe stain remover.
-
Ink-specific tip: Rubbing alcohol works well for ballpoint pen stains. Test on a hidden seam first.
-
Tip: Treat wine stains immediately with salt or club soda to prevent them from setting.
Combination Stains (Chocolate, Salad Dressing)
-
Step 1: Treat the oily component first with dish soap.
-
Step 2: Treat the protein component with cold water and an enzyme-based detergent.
Proper pre-treatment saves time and reduces the need for repeated washing, which can wear out your clothes.
Step 4: Check Care Labels
Every garment comes with a care label that provides essential instructions. Ignoring these labels can lead to shrinkage, fading, or even fabric breakdown.
What to Look For
-
Water temperature: Some fabrics like silk, wool, and lace must be washed in cold water.
-
Washing method: Hand wash only, gentle cycle, or machine wash allowed.
-
Drying instructions: Some fabrics cannot go in the dryer. Air-drying may be necessary.
-
Bleach warnings: Avoid bleach on colored fabrics; it can permanently damage the garment.
Taking a moment to read the label ensures that your stain removal efforts don’t unintentionally ruin the clothing.
Step 5: Test First
Before applying any stain remover—commercial or DIY—test it on a hidden area of the garment. This precaution prevents discoloration or fabric damage.
How to Test Safely
-
Apply a small amount of your solution to an inside seam, hem, or folded area.
-
Wait 5-10 minutes and check for color change or fiber damage.
-
If safe, proceed to treat the visible stain.
Testing is especially important for delicate fabrics such as silk, wool, or polyester blends.
Expert Tip: Avoid Hot Water on Protein Stains
One of the most common mistakes is using hot water on protein stains like blood or egg. Hot water cooks the protein, making the stain permanent. Cold water and gentle treatment are always better for these stains.
Other expert tips:
-
Use enzyme-based detergents for protein stains; they break down the protein molecules safely.
-
For grease, dish soap is more effective than laundry detergent because it targets oil at a molecular level.
-
Treat stains as soon as possible. Old, set-in stains often require professional cleaning.
DIY Stain Removal Hacks
Here are some additional home remedies you can try for stubborn stains:
-
Coffee Stains: Blot with cold water, then apply a paste of baking soda and water. Let sit for 10 minutes before washing.
-
Red Wine: Cover the stain with salt immediately, then rinse with cold water. Follow up with dish soap or white vinegar.
-
Ink Marks: Apply rubbing alcohol to a cotton ball and gently dab the stain. Rinse and wash as usual.
-
Grease Stains: Sprinkle cornstarch or baby powder, let it sit for 30 minutes, brush off, then wash with dish soap.
-
Sweat Stains: Soak in a 1:1 solution of vinegar and cold water, then wash normally.
Preventing Future Stains
Prevention is just as important as removal. Simple habits can save you a lot of frustration:
-
Wear aprons or protective clothing when cooking or painting.
-
Be cautious with makeup and ink pens near clothing.
-
Pre-treat potential stains immediately instead of letting them sit.
-
Separate laundry by type and color to avoid bleeding or cross-contamination.
When to Call a Professional
Some stains are stubborn enough to require professional care. Consider taking the garment to a dry cleaner if:
-
It’s delicate (silk, wool, lace) and the stain persists.
-
It’s a combination stain that has set for several days.
-
DIY methods have failed, and the fabric is valuable or sentimental.
Professional cleaners have access to advanced solvents and techniques that are safe for even the most delicate fabrics.
Stains don’t have to mean the end of your favorite clothes. By acting quickly, identifying the type of stain, pre-treating safely, and following care label instructions, you can remove most stains at home without damaging your garments.
Start implementing these tips today, and you’ll notice a dramatic difference in how your clothes look after washing. Do you have a favorite stain removal hack that works every time? Share your success stories and tips in the comments—we’d love to hear from you!